Reinforced earth is a technique that can be used to construct many types of excavations. One of the most common uses of this method is to build reinforced soil drains. A reinforced soil drain is usually an underground excavation constructed using soil reinforcement techniques like the Earth and Anchor Locking system (EARTHLOK). Reinforced soil drains are very popular and commonly used for preventing water from collecting in excavations, ponds, or other areas where standing water might cause a risk. To learn how to construct a concrete drain with EARTHLOK, you need to know about all its different applications. Keep reading for more information.
What is a Concrete Drain?
A concrete drain is an underground structure used to prevent the accumulation of standing water in an area where it might cause a risk. This type of structure can be any size and shape, but most reinforced drains are rectangular or circular.
Although concrete drains are usually made from reinforced soil, there are some applications where you might need a more durable drain. In those cases, you can install a pre-cast concrete drain to ensure that it lasts for many years without ever getting damaged or breaking down. Just like any other type of underground drainage system, concrete drains channel groundwater so that it can flow away from the surface and avoid creating problems in the area around the drain.
How to Build a Concrete Drain with EARTHLOK
Building a concrete drain is an important skill to learn, especially if you work in the construction industry. If this is your first time building a reinforced concrete drain, make sure that you follow these steps carefully for the project to be successful.
When constructing a reinforced soil drain, there are three basic steps that must be followed in order to finish the project successfully:
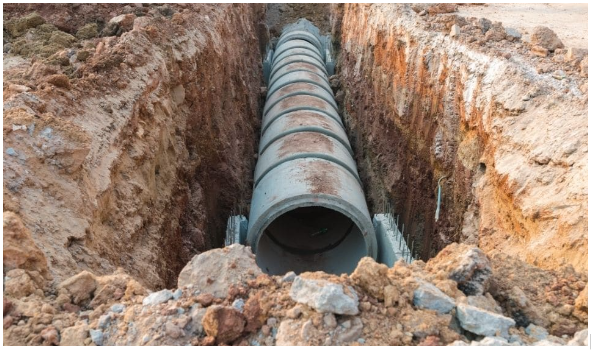
Step 1: Excavate the Area
It is first necessary to excavate an access pit and underground chamber where you will install the drain to build a solid reinforced concrete drain structure. Excavating an access pit is usually a fairly simple task with the EARTHLOK system. Loosen and remove some soil from the area, dig down to the desired depth, and then fill in any empty spots using EARTHLOK anchors.
Step 2: Lay Out a Reinforced Concrete Drain Pattern
The pattern you use to lay out your concrete drain will depend on how deep the chamber needs to be when it is finished. If you want to place a 5- or 6-inch drain system into your underground chamber, you can excavate a rectangular chamber that is 5 feet long and 4 feet wide.
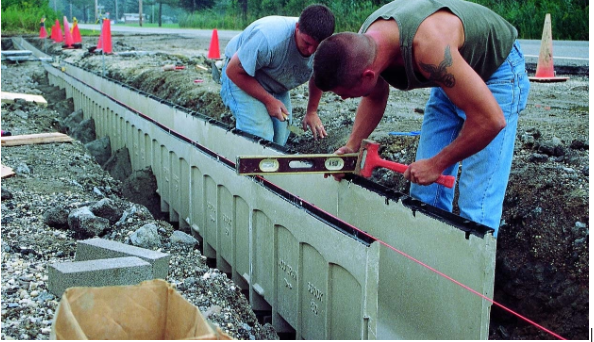
Step 3: Install Reinforcement in the Chamber
After excavating your chamber and laying out a pattern, it is time to install the reinforcement into the walls. This can be done by digging trenches around the edges of your pattern and then placing various types of EARTHLOK anchors into them. After these are in place, if necessary, it is time for additional reinforcement to ensure that your tunnel stays solid.
Step 4: Install Reinforcement Mounting Blocks in the Chamber
To complete the final steps of your reinforced concrete drain project, it is necessary to install reinforcing wall blocks. You are ready to fill your chamber with concrete when this is completed.
You can then cap and finish your reinforced concrete drain by placing a final dressing of EARTHLOK anchors over the top of the drain system to secure it from falling apart.
Conclusion
Learning how to build a concrete drain is an important skill you can use in many different applications, including the creation of retaining walls. Concrete drains can save you money over time by preventing water problems and other issues that might cost you repairs, cleanup, or even replacement.

